
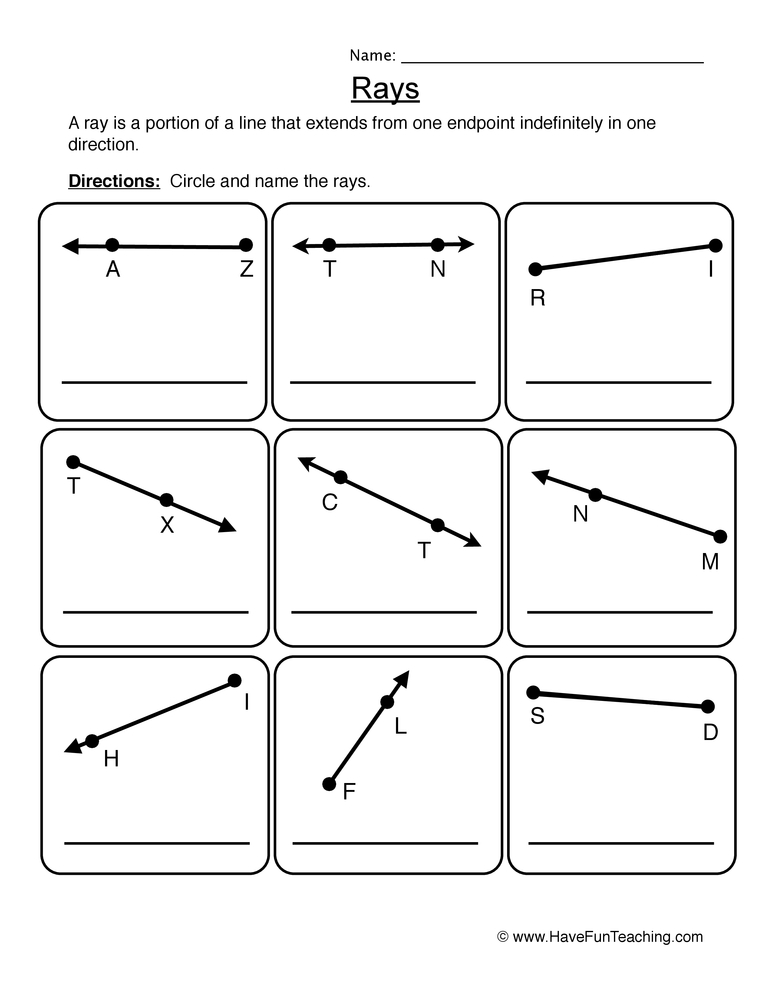
Rays Worksheet
This rays worksheet has 4th graders tell rays from lines and line segments on six labeled figures, draw ray MN from two given points, and explain the difference in writing. Answer key included.
$6.97
Or free with a membership — members pay $3.33/mo for all 10,000+ resources. See plans
Want this one free?
Tell us where to send it and it’s yours — no card, no catch.
One free resource per teacher. We’ll also send free teaching ideas each week — unsubscribe anytime.
Teaching is easier with a membership
Unlimited printables, games & videos for PreK–6th — for your classroom or homeschool. Cancel anytime.
Start your 3-day free trial$0 today · cancel anytime · Instant access to 10,000+ resources
About this resource
Description
A ray is one of the first pieces of geometry vocabulary that asks a fourth grader to look carefully rather than quickly. A line runs forever in both directions, a line segment stops at both ends, and a ray does one of each — it begins at a single endpoint and travels on without stopping. This rays worksheet trains students to spot that difference by reading the two details that carry all the meaning: where the endpoint dot sits, and how many arrowheads the figure has. Once a child reads figures that way, naming them stops being guesswork.
Part A gives six labeled figures, one per card, and asks students to write line, line segment, or ray underneath each. The figures are drawn to true geometric convention, with filled points and clean arrowheads, so the page looks like the diagrams students will meet on a test. Part B is where this geometry rays worksheet goes past recognition: students draw ray MN themselves from two given points, which quietly checks that they know the endpoint is named first, and then explain in complete sentences why a flashlight beam is a good model of a ray. That written explanation is the part a teacher can actually assess.
What’s Included
- 1 print-ready PDF worksheet
- Answer key
- 6 labeled figures to identify as a line, line segment, or ray
- 1 construction task: draw ray MN from two given points
- 1 written-response task explaining why a flashlight beam models a ray
Three things make this rays worksheet worth the printing. First, every figure is drawn to scale and to convention, so students learn to read arrowheads and endpoints rather than memorize a picture. Second, the sheet contrasts all three figures on one page — students cannot identify a ray without also ruling out a line and a segment, which is exactly how the standard is tested. Third, the drawing task catches the mistake almost every class makes: writing the name backwards. A student who draws the arrow starting at N has not yet understood that the endpoint comes first.
Away from the page, geometry vocabulary sticks fastest when students hunt for it. Ask them to find a real line segment in the room (the edge of a desk), a real ray (a beam from a flashlight or a laser pointer), and to explain why a true line is impossible to photograph. Have them draw the three figures on a whiteboard while a partner names them. A quick flashlight demonstration in a darkened room makes the endpoint unforgettable: the light starts exactly where the lens is and keeps going until something stops it.
Related Resources
What teachers say
Reviews
You must be logged in to post a review.
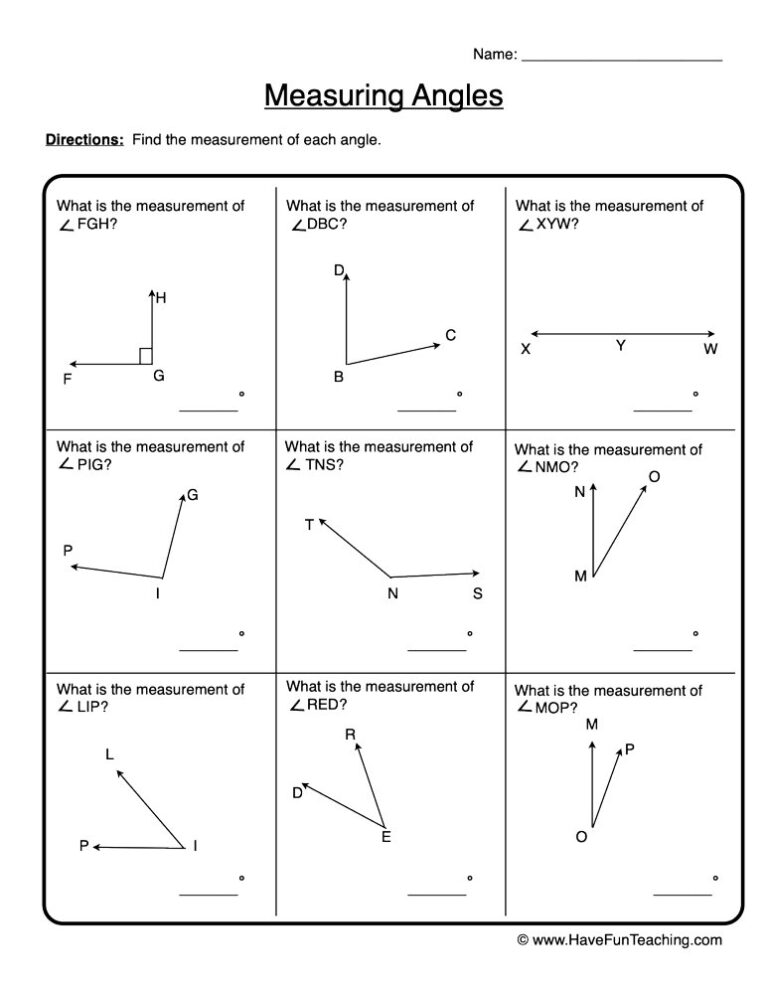
This measuring angles worksheet gives 4th graders hands-on practice using a protractor to measure angles in degrees and to name acute, right, obtuse, and straight angles. Answer key included for fast, no-prep geometry practice.
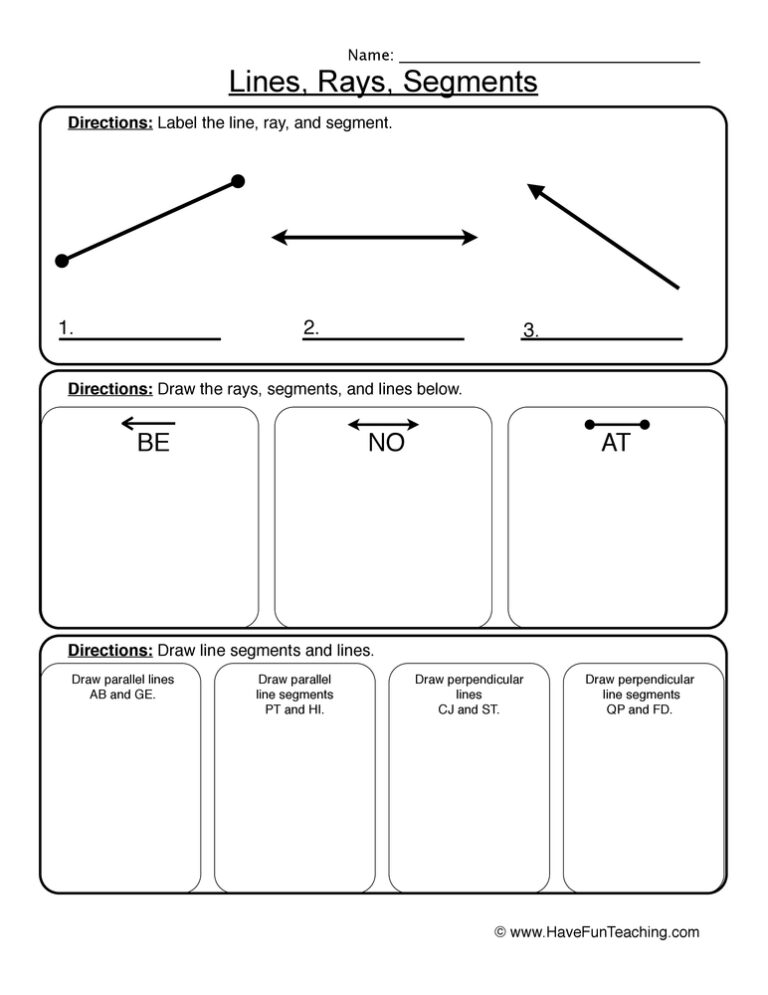
Students use this Lines Rays and Segments Worksheet to name, draw, and explain points, lines, segments, rays, and parallel and perpendicular lines. Built for 4th Grade with an answer key included, so checking takes seconds.

This 4.MD.7 Common Core Worksheet gives 4th graders practice finding unknown complementary and supplementary angles using right angles and straight lines. Includes a complete answer key — perfect for no-prep angle measurement practice.
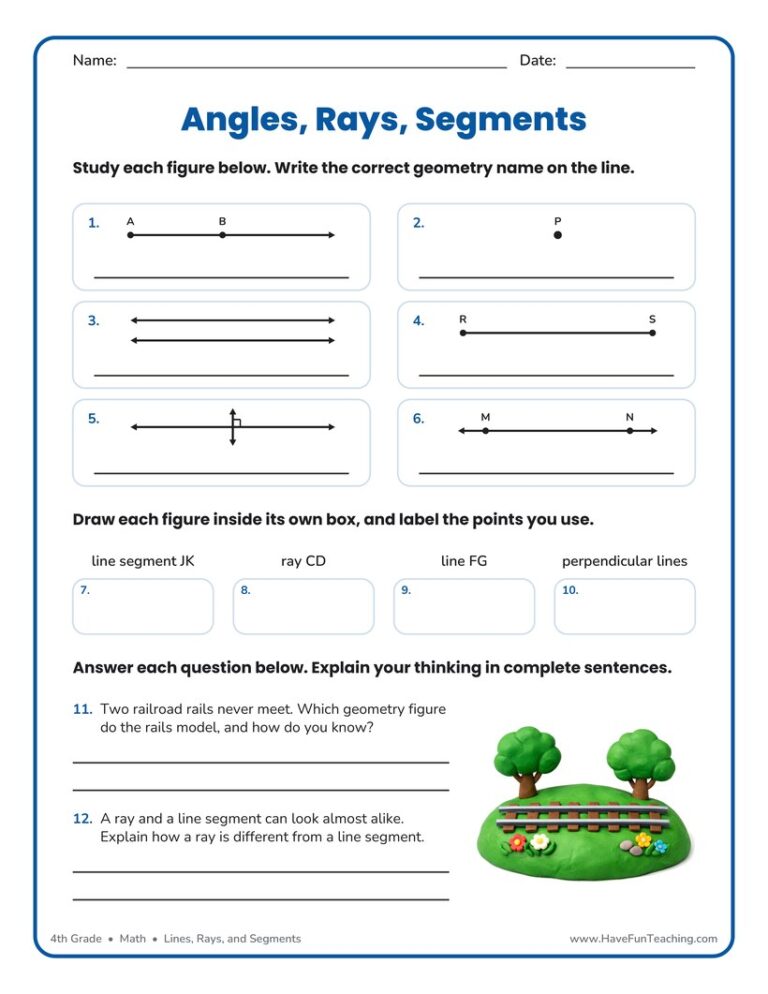
This angles rays and segments worksheet gives 4th graders practice naming and drawing lines, rays, segments, and parallel lines. An answer key is included, so checking work takes seconds.
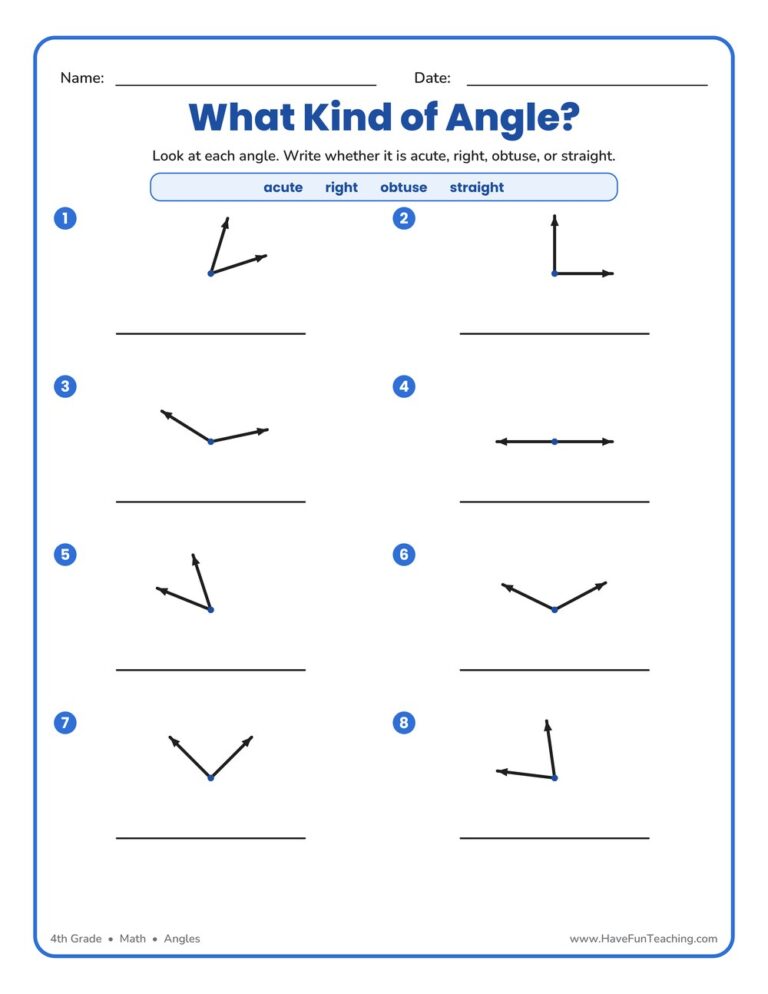
The What Kind of Angle worksheet gives 4th graders eight angles to sort as acute, right, obtuse, or straight. Answer key included for quick, no-prep geometry practice.

This angles measuring worksheet has 4th graders measure six angles with a protractor and label each one acute, obtuse, right, or straight. An answer key is included, so protractor practice checks itself in minutes.

In this Star Wars Rays and Angles Activity, students recognize angles as obtuse, acute or right by playing War!
In this 4.MD.7 Fourth Grade Common Core lesson students solve addition and subtraction problems to find unknown angles on a diagram.

Using this Measuring Monstrous Angles Activity, students measure angles in whole-number degrees using a protractor.
In this 4.MD.5 Common Core Activity, students recognize angles as obtuse, acute or right by playing this game of War with a partner!

In this Up, Up, and Away! Measuring Angles Activity, students solve addition and subtraction problems to find unknown angles on a diagram.

Using this Baking with Geometry Activity, students match picture cards to the appropriate geometry term, identifying points, lines, line segments, rays, and angles.

Reviews
There are no reviews yet